Follow the instructions below to pair the Bluetooth® scanner to an Apple® iPad.
IMPORTANT: Keep the scanner’s documentation for future use. It contains special barcodes that are used for scanner programming.
NOTE: A Bluetooth scanner can only be paired with one Apple iPad at a time. If you need to pair the scanner with another Apple iPad, first unpair the scanner from the Apple iPad to which it is currently paired. Refer to Unpairing Devices for more information.
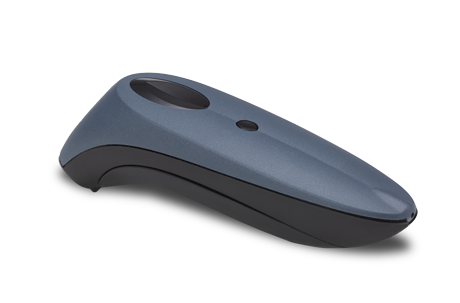
Unpack the scanner from its packaging.
Locate the scanner’s documentation included in its box.
Follow the applicable manufacturer’s instructions to insert the batteries, attach the lanyard and charge the scanner.
Login to the PAYD Pro Plus App.
Tap the Settings button (![]() ).
).
On the main menu, tap Configuration.
In the Configuration screen, tap Devices.
On the right pane, in the BARCODE SCANNER section, toggle the Enable Barcode Scanner switch to the right to enable it.
Tap Setup.
The Scanner Configuration popup appears.
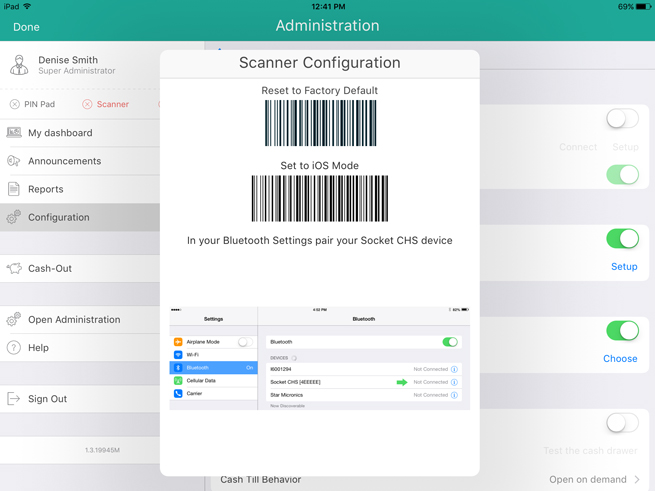
Configure the scanner:
a. Scan the barcode labelled Reset to Factory Default.
The scanner beeps and powers off.
b. Power the scanner on again.
c. Scan the barcode labelled Set to iOS Mode.
d. Tap outside of the Scanner Setup popup to close it.
e. Tap <Configuration at the top of the right pane.
f. Log out of the PAYD Pro Plus App and proceed to step 11.
Pair the scanner with your Apple iPad:
a. Access the Apple iPad’s Settings screen.
b. Ensure that your Apple iPad’s Bluetooth menu is open, that Bluetooth is enabled, and that the Apple iPad is configured to be “discoverable” by another Bluetooth-ready device.
c. On your Apple iPad’s Bluetooth menu, tap the scanner’s name (e.g., “Socket CHS”) in the OTHER DEVICES list.
d. Wait while the Apple iPad pairs with the scanner. When the scanner appears in the MY DEVICES list and its status is showing as “Connected”, the scanner has been paired successfully.
e. Close out of the Settings screen and proceed to step 12.
Login to the PAYD Pro Plus App again (see Signing into the PAYD Pro Plus App on page 3 for more information).
Tap the Settings button (![]() ).
).
On the Settings menu, tap Configuration.
On the Configuration screen, tap Devices.
In the right pane of the Devices screen, the barcode scanner will be automatically detected and the status will change from “Not connected” to display the scanner’s name e.g., “Socket CHS”.
Tap <Configuration at the top of the right pane to save your work and return to the Configuration screen.
The system will save the configuration. The scanner is ready to use with the PAYD Pro Plus App.