Follow the instructions below to download and install drivers for the Dymo LabelWriter.
Follow the manufacturer's instructions to do the following:
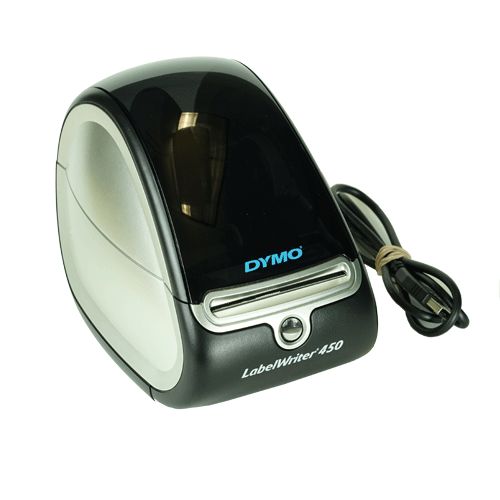
● Connect the USB and power cables to the rear of the Dymo LabelWriter.
● Install the spool of labels in the printer.
● Connect the power cable to a power source.
Download the driver for your label printer from dymo.com. Be sure to download the driver appropriate to your printer and your version of Windows.
When prompted to run or save the download file, click Save.
Once the driver file is saved to your hard drive, open the folder that contains your downloaded file.
Right-click on the driver installation file choose Install.
If you receive the Open File - Security Warning dialogue box, click Run.
Review the Dymo software license agreement, then place a checkmark in the I accept the terms checkbox and click Install.
A Dymo Label Writer Setup dialogue box appears, displaying the progress.
When prompted, connect the USB cable from the Dymo printer to an available USB port on your laptop or computer, then click Finish.
The setup wizard completes its task and disappears. Dymo label software (called DYMO Label) is also added to your computer. Use this software to select the label type your printer is using.
IMPORTANT: The Dymo installation file should also install a Dymo Web Service. This Web Service is required to print product labels from PAYD Administration. You can easily verify that the Web Service has been installed by looking in your Windows taskbar. There should be two (2) Dymo icons: one is for DYMO Label, and the other is for the Web Service.

If the Dymo Web Service was not installed, please install it now before attempting to print labels.