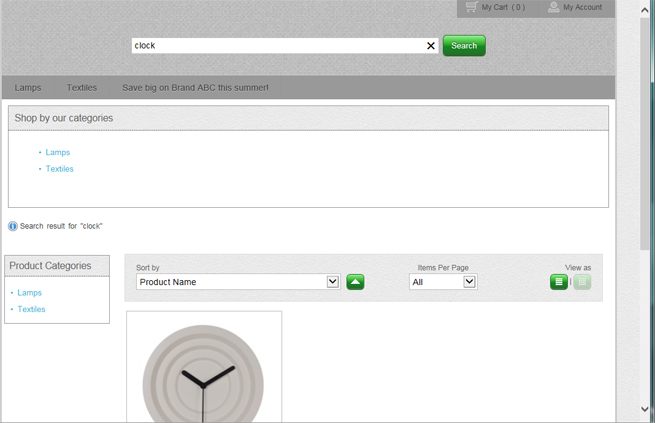
On your ecommerce website, your customer is able to search for products by name, keyword, product ID, or by scrolling through the list of products offered. Depending on how you have configured your ecommerce site, there are many options available to select items for purchase.
The customer can use the Search field at the top of the ecommerce site to search for a product by its name, by keyword, brand name, or by product ID. Type the search value into the field and click the Search button. The search results appear below.

The customer can leave the Search field at the top of the ecommerce site blank, then click the Search button. The list of all available products appears below.
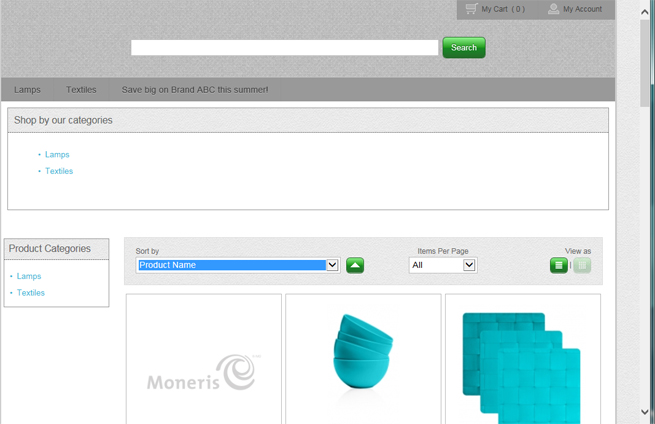
● Use the Sort by drop-down menu to select Product Name.
Selecting Product Name will filter the results alphabetically by name.
Selecting Price will filter the results numerically by price.
● Use the Items Per Page drop-down menu to increase or decrease the number of items displayed on the page.
Based on the Widgets you created and enabled, as well as the products, categories, and brands that you have enabled to be displayed online, your products, categories, and brands may be visible to click on. In the screenshot above, there is a shop by category widget enabled, so the customer can see that across the top and left of the screen.
For products where multiple product IDs have been configured (like size variation, different colours etc.), the customer will have the ability to select the variation they want. This ability is given by the Choose Options button for the product.
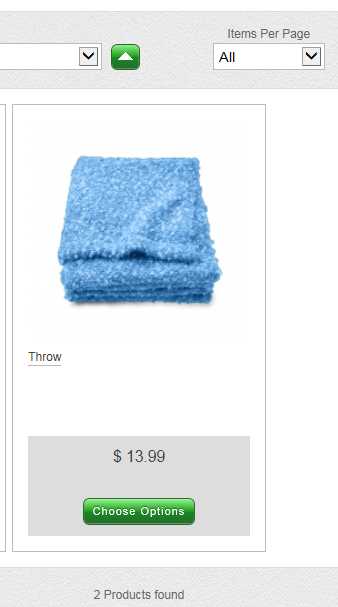
When the Choose Options button is clicked, the product profile appears, and the customer is given the ability to select their options. In the example below, the option that the customer can select is Colour. The available options are defined by the attributes and the product IDs created, that are also set to be Available Online.
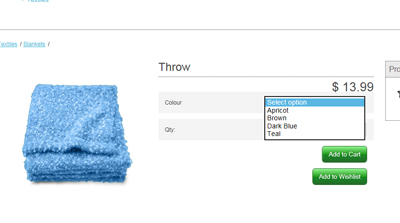
The customer can click inside the Qty field and enter a numeric value. The default quantity is 1.
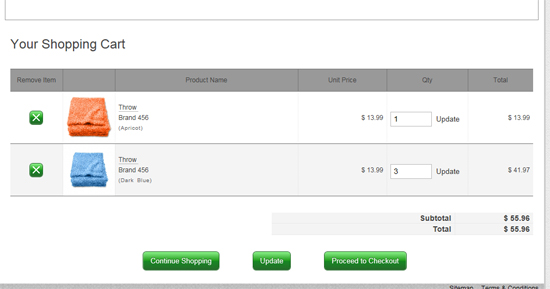
NOTE: Enter multiple quantities for different products, or different product IDs. The screenshot of the cart below illustrates this example where 1 apricot throw was added, and 3 dark blue throws were added.
The customer selects their options (if applicable), changes the quantity (if applicable), then clicks Add to Cart.
A popup appears informing you that the product has been added to the cart, and gives you two options.

The customer selects the next step:
● To continue shopping, click the Continue button. Repeat step 1.
● To review the contents of the shopping cart, and checkout, click the View cart & checkout button. The Your Shopping Cart screen appears. Proceed to Checking Out an Ecommerce Purchase for instructions on processing the sale.
● To close the popup and return to the product's profile, click Close in the top right corner. The product will still be added to your cart. Repeat step 1.
Checking Out an Ecommerce Purchase