Use the Store Credit Search screen to issue new store credit to a customer in your PAYD Pro PlusTM customer database. The screen is accessed from the Tools button panel on the POS view.
NOTE: After you have issued store credit to a customer, you can edit the store credit details including the store credit amount, expiration date and the customer who owns the store credit. For more information, refer to Viewing and Editing Store Credit Details.
On the POS view, click the Tools tab.
On the Tools button panel, click Store Credits Management.
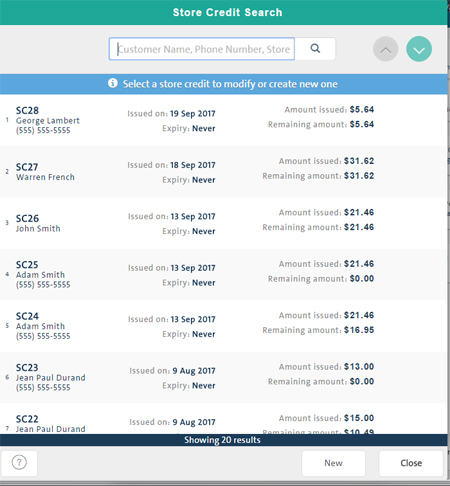
The Store Credit Search screen appears listing all the active store credits in PAYD Pro Plus.
At the bottom of the screen, click the New button.
The New Store Credit popup appears.

To select the customer to whom to assign the store credit, click the Assign button.
The Customer Search popup appears.
Search for a customer to whom you wish to assign the store credit. Once you locate the customer, click the Assign button next to their name.
The selected customer's information is added to the First Name, Last Name and Phone fields on the New Store Credit popup.
NOTE: If the customer is not yet registered, add them as a client first. See Adding a New Customer for more information.
Enter any applicable notes about the store credit into the Notes field.
Depending on the way your system is configured, an expiration date for the credit may be set by default, or you may need to set an expiry date.
If a date appears beside Expiration Date, and is unchangeable, proceed to step 8.
To set a store credit expiry date:
Click the Choose button in the Expiration Date section.
The Calendar popup appears.
Use the calendar to select the date on which the store credit will expire.
Click Close at the bottom of the calendar.
NOTE: If you do not select an expiration date (i.e., leave the Expiration Date field set to Default), the expiration time limit set in PAYD Administration is used (refer to Configuring Other Merchant Settings). If no default is set in PAYD Administration, then the store credit will not expire.
Proceed to step 8.
Enter the dollar amount of the store credit in the Amount issued field.
Click the Save button.
Click the Close button at the bottom of the popup.
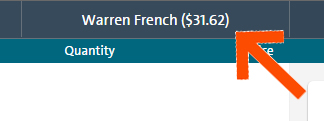
When a customer has a store credit, PAYD Pro Plus notifies you in two ways:
when a customer is assigned to a transaction - it shows up beside their name in the top of the POS view.
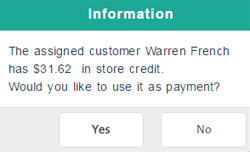
when a customer is paying for their transaction
Viewing and Editing Store Credit Details