Begin the transaction in the POS view.
Click inside the Add Product panel at the bottom of the screen, then scan the item's barcode.
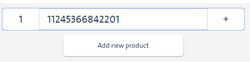
In the Quantity textbox to the left, change quantity if needed (default is 1).
Click the ![]() button.
button.
You can add items to the current sale from the POS view by scanning the barcode on product labels. Other options for adding items are keying in Product ID, searching inventory and adding a non-inventory item.
Once an item is added to the sale, you can increase/decrease the item's quantity, view item details, override the retail price, set applicable taxes, apply a discount to the item and remove the item from the sale. You can use the product discount function to reduce the item by 100% to a price of $0.00. If the total amount of the sale transaction is also $0.00, you can accept only cash as the payment type. $0.00 items are still considered "sold" and therefore affect inventory counts as normal.
NOTE: You can assign a customer to the sale at any time during the transaction. For details, see Assigning a Customer to a Sale.
Begin the transaction in the POS view.
Click inside the Add Product panel at the bottom of the screen, then scan the item's barcode.
In the Quantity textbox to the left, change quantity if needed (default is 1).
Click the ![]() button.
button.
PAYD Pro Plus adds the item to the sale, displays item information in the Sale Items List and updates the Transaction Totals Area accordingly.

Check out:
On the Sale Items List, click the item's Increase ![]() or Decrease
or Decrease ![]() button as required.
button as required.
OR
Enter a number in the text box above the Increase ![]() and Decrease
and Decrease ![]() buttons.
buttons.
Totals in the Sale Items List and Transaction Totals Area are updated accordingly.
On the Sale Items List, click the item.
Item details appear in the Product Details popup.
For more help, see Adding a Product to a Sale (Through Inventory Search).
Click the item on the bill whose price you wish to change.
The Product Details popup appears.
On the Product Details popup, click the Retail Price tab.
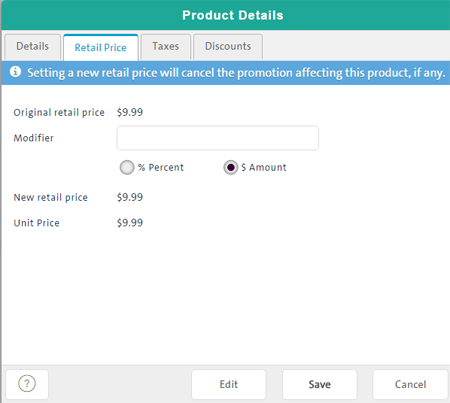
Select the appropriate modifier type radio button (% Percent or $ Amount).
In the Modifier textbox, depending on the modifier type selected, do one of the following:
$ Amount - Enter the new retail price to be charged. The new amount appears in the Unit Price field.
% Percent - Enter the amount to increase the price as a percentage of the original retail price. The new amount appears in the Unit Price field.
EXAMPLE: For example, to increase the price by 5%, select the % Percent radio button and enter 5.
TIP: Use the quick pick buttons to automatically populate the Modifier textbox.
At the bottom of the popup, click Save.
The popup closes and totals in the Transaction Totals Area are updated accordingly.
Repeat steps 1 - 5 to change other product prices as needed.
Click the item on the bill whose taxes you wish to change.
The Product Details popup appears.
On the Product Details popup, click the Taxes tab.
The tab displays taxes applicable to the item based on your merchant setup.
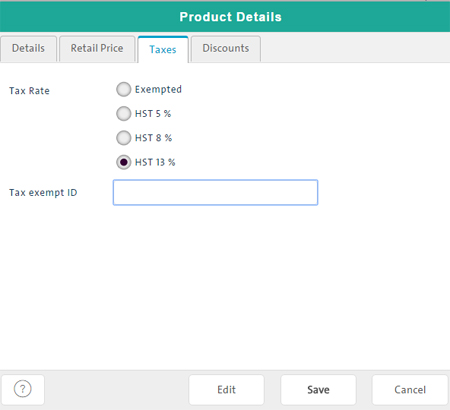
Select/deselect radio button(s) as needed. A selected radio button means the corresponding tax will be applied to the sale for the item.
If exempting the item from tax, complete the Tax exempt ID textbox accordingly.
At the bottom of the popup, click the Save button.
The popup closes and totals in the Transaction Totals Area are updated accordingly.
Repeat steps 1 - 5 to change other product taxes as needed.
Click the item on the bill whose taxes you wish to change.
The Product Details popup appears.
On the Product Details popup, click the Discounts tab. For more help, see Applying a Discount to a Product.
NOTE: You can apply a 100% discount to a product to reduce its price to $0.00.
On the Sale Items List, click the item's Remove button (![]() ) on the left side of the screen.
) on the left side of the screen.
The item is removed from the list and the sale.
It is possible to make use of the Virtual Numeric Keypad for quick data entry (like quantity or price).
NOTE: To use the Virtual Numeric Keypad, it needs to be enabled in the Configuration - Lanes screen.
Keying in Sales Item Product ID